A systematic air leak repair approach combines visual checks, sound isolation, and pressure monitoring to locate hidden faults. This guide provides a structured checklist for plant engineers to perform a complete system audit, isolate losses, and apply targeted fixes that reduce energy waste and protect equipment.
- Start with a baseline pressure and temperature check before hunting for leaks.
- Use sound isolation to find leaks that visual inspection misses.
- Document each repair to track recurring failure points and component life.
- Prioritize leaks near actuators, valves, and receivers to protect control stability.
- Verify pressure recovery after every repair to confirm the fix.
Start with a system baseline check
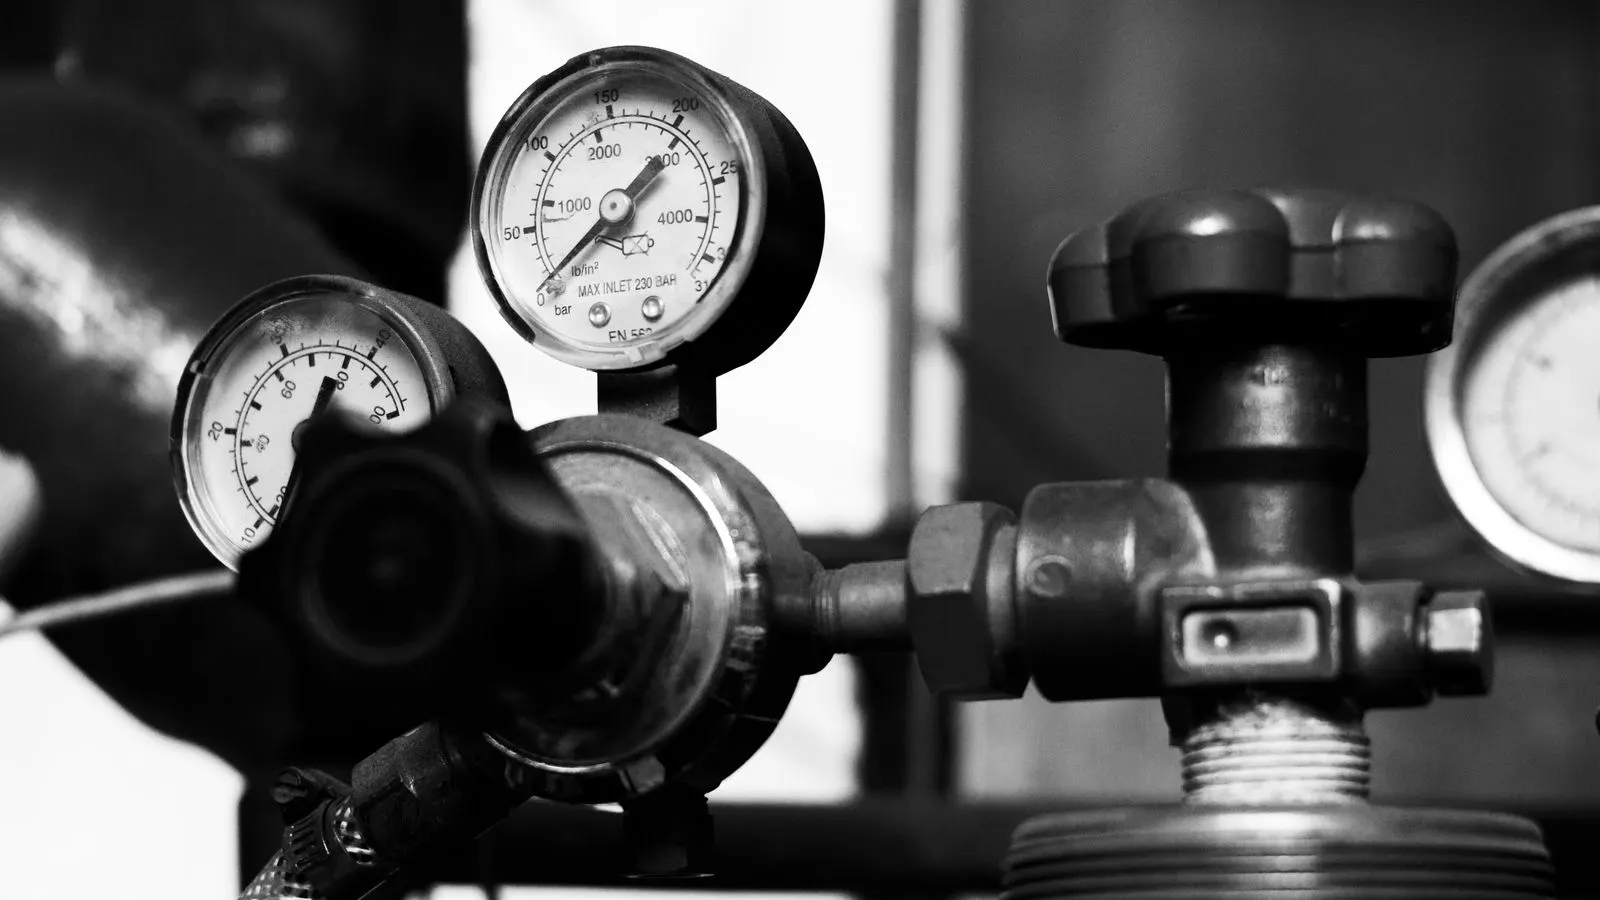
Before you chase a single hissing joint, record the current state of the system. A baseline gives you a reference point for measuring the impact of each repair. At the compressor outlet, note the supply pressure, dew point, and temperature. Check the receiver tank pressure and the regulator outputs at the point of use.
These numbers matter because a leak does not always show up as a pressure drop. Sometimes it hides inside a pressure fluctuation or a slow drop in the receiver level. If the system runs near its low-pressure limit, the leak may be small enough to stay hidden until the compressor cycles more frequently.
Write these values down. Even a simple paper log or a sticky note on the control panel helps. When you finish the audit, you can compare the post-repair numbers to this starting point. That comparison tells you whether the work actually reduced the load on the compressor.
Listen for leaks before you look
Your ears are the fastest diagnostic tool available. Stand in a quiet area of the plant and listen for the hiss, whistle, or pop that signals a leak. Move slowly from the compressor discharge to the main distribution lines, then down to the branch lines and equipment.
A leak near a regulator or an open port often produces a high-pitched whistle. A loose fitting or a worn seal may give off a lower, steady hiss. A small crack in a tube can sound like a faint, continuous sizzle. If the plant is loud, you need a way to cut through the noise. An ultrasonic leak detector converts the high-frequency sound of escaping air into an audible tone or visual signal. It isolates the leak source even when the ambient noise is high.
Do not walk the entire line with the detector on. That creates a long, slow process. Instead, divide the system into zones. Check one zone at a time. Mark every spot that sounds suspect. Return to the loudest spots first. The goal is to identify the top three or five leaks that account for the largest pressure loss.
Use a visual inspection for obvious faults
Some leaks are visible. Others are not. Start by walking the piping and components with a flashlight. Look for oil mist, white residue, or damp spots on the fittings. Oil mist indicates a leak where lubricant is being carried out with the compressed air. White residue can be water condensate mixed with oil or a sign of a failing seal.
Check the following items closely:
- Couplings and quick-disconnects. These are common wear points. Look for scratches, deformation, or worn O-rings.
- Valve stems and bonnets. A leaking stem often has a small drip or a constant hiss.
- Actuator cylinders. Check the rod seals and the piston seals. A rod seal leak usually appears as oil on the rod. A piston seal leak may show as pressure loss without visible oil.
- Fittings and flanges. Look for loose nuts, corroded threads, or cracked gaskets.
- Receptacles and drain valves. A failing drain valve can leak air continuously.
Do not assume a dry joint is a good joint. Some leaks are too small to see. A visual check is a first pass, not a final answer.
Isolate sections to find hidden leaks
If you cannot locate a leak by ear or sight, you need to isolate sections of the system. This process is often called a zone-by-zone audit. It requires the help of a second person. One person operates the isolation valves and monitors the pressure. The other person walks the isolated zone and listens.
Start with the zone that shows the highest pressure drop. Close the valves upstream and downstream of that zone. Watch the pressure gauge. If the pressure drops steadily, the leak is inside that zone. If the pressure holds, the leak is elsewhere.
This method can be slow. It requires you to understand the piping layout and the function of each valve. Do not isolate a zone that contains safety-critical equipment without confirming the system is safe. Lockout and tagout procedures apply when you are working on active pneumatic circuits.
When you isolate a zone, look for leaks at the boundaries first. The leak may be in the valve itself, not in the piping. A valve that does not seal fully will leak even when the zone is isolated.
Apply targeted air leak repair techniques
Once you have located the leak, apply the correct repair method. Matching the fix to the fault prevents recurring issues.
| Leak Source | Typical Cause | Recommended Repair |
|---|---|---|
| Quick-disconnect | Worn O-ring or cracked body | Replace O-ring or the entire fitting |
| Valve stem | Worn packing or stem | Replace packing or rebuild the valve |
| Actuator rod | Worn rod seal | Replace rod seal kit |
| Pipe crack | Fatigue or impact damage | Cut out the cracked section and weld or thread in a new piece |
| Fitting | Loose thread or damaged gasket | Re-torque and replace the gasket |
For quick-disconnects, a simple O-ring replacement often solves the problem. If the body is cracked, replace the fitting entirely. A cracked body will fail again. For valve stems, check the packing first. If the packing is worn, replace it. If the stem is scored, replace the valve.
For actuator leaks, distinguish between rod and piston leaks. A rod leak is usually caused by a worn rod seal or a damaged rod. If the rod is bent or pitted, replace it. If the piston seal is leaking, the actuator may need a rebuild kit. Check the manufacturer’s service manual for the correct part numbers.
Do not use thread sealant as a permanent fix for a leak. It can clog ports and cause valve failure. If a threaded joint leaks, re-torque it to specification. If it still leaks, check the threads. Damaged threads need a new fitting or a repair sleeve.
Verify the repair and document the work
After each repair, verify the fix. Open the valve and watch the pressure gauge. The pressure should hold steady. Listen for the leak. If the hiss is gone, the repair is successful. If the pressure still drops, you have not found the true leak source.
Document each repair. Record the date, the location, the part replaced, and the pressure reading before and after. This record becomes part of your maintenance log. It helps you identify patterns. If the same valve leaks every year, you may need to replace it rather than repair it. If a group of fittings in the same area leak together, check the air quality. Moisture or oil contamination may be accelerating the wear.
A simple spreadsheet with columns for date, location, part replaced, and pressure delta is enough. You do not need a complex software system to track this information. The key is consistency. When you have a record, you can plan for component replacement before it fails.
Build a routine leak detection schedule
A one-time audit is not enough. Leaks develop over time. Fittings vibrate, seals dry out, and components wear. You need a routine leak detection schedule to keep the system efficient.
For small systems, a monthly walk-around with an ultrasonic detector is a good practice. For larger plants, a quarterly system audit is more appropriate. During each audit, focus on the areas that have leaked in the past. These spots are the most likely to fail again.
Keep the detector clean. A dirty sensor can give false readings or miss small leaks. Store it in a protective case. Test it occasionally against a known leak source to confirm it is working.
A routine schedule turns leak detection from a reactive task into a preventive one. You catch small leaks before they become large energy drains. You also catch component wear before it causes a system failure. This approach reduces unplanned downtime and keeps your compressed air system running at peak efficiency.
Review related diagnostic topics
Leak detection is one part of a broader diagnostic process. If you find a leak, fix it. But if the leak is accompanied by other symptoms, you may need to look deeper.
If your system shows low air pressure, check the compressor, the receiver, and the leaks together. A leak can mimic a compressor problem. If you have intermittent actuator failures, check the air supply quality and the valve control circuit. A leak in a pilot line can cause an actuator to lose position or drift. These topics are covered in separate guides on this site. Use them when your leak repair does not solve the underlying issue.
A complete air leak repair strategy includes the system audit, the targeted fix, and the verification. It also includes the documentation and the routine schedule that keep the system healthy. By following this process, you reduce energy costs and improve the reliability of your pneumatic equipment.
Frequently asked questions
How often should I perform a leak detection audit?
A monthly walk-around with an ultrasonic detector is a good practice for small systems. For larger plants, a quarterly system audit is more appropriate. Adjust the frequency based on your system size and past leak history.
Can I fix a leak with thread sealant?
No. Thread sealant can clog ports and cause valve failure. If a threaded joint leaks, re-torque it to specification. If it still leaks, check the threads and replace the fitting if needed.
What is the best tool for finding small leaks?
An ultrasonic leak detector is the best tool for small leaks. It converts the high-frequency sound of escaping air into an audible tone or visual signal. It works well even in noisy plant environments.
How do I isolate a zone for leak detection?
Close the valves upstream and downstream of the zone. Watch the pressure gauge. If the pressure drops, the leak is inside that zone. If the pressure holds, the leak is elsewhere.
What should I document after a leak repair?
Record the date, the location, the part replaced, and the pressure reading before and after. This record helps you identify patterns and plan for component replacement.