Replace worn pneumatic parts by verifying size, pressure ratings, materials, and connection types. This maintenance checklist prevents costly downtime and ensures the new component fits the existing system and load requirements.
- Verify the original part number or nameplate data before ordering a replacement.
- Check air pressure, flow rate, and force requirements against the existing system.
- Match materials and coatings to the operating environment to prevent corrosion.
- Confirm connection types and mounting dimensions to avoid adapter costs.
Why Maintenance Selection Differs From New Design
Replacing a failed component is not the same task as designing a new system. A new design allows you to optimize every variable. Maintenance selection is constrained by what already exists. The machine frame is fixed. The air lines are already installed. The load conditions are defined by the process.
When a part fails, the goal is a like-for-like swap that restores function without triggering secondary failures. This is where the pneumatic component selection process becomes an audit rather than a creative exercise. You are validating existing parameters against the proposed replacement.
1. Mechanical Dimensions and Mounting
The first check is physical. If the new part does not fit the existing housing, the replacement is impossible without modification.
- Overall Length: Measure the total length of the cylinder or valve body from the mounting surface to the end of the stroke.
- Bore Diameter: Verify the internal diameter. This determines the force output at a given pressure.
- Rod Diameter: Check the rod size. A mismatch here can break the rod or fail to seal against the bushing.
- Mounting Pattern: Identify the mounting style. Common types include flange, clevis, clevis with pin, and rod-end.
- Stroke Length: Confirm the required travel. An overly long stroke may cause the part to hit the end of the frame, while a shorter stroke may not complete the operation.
Red Flags:
- Scratches or wear on the mounting surfaces of the machine. This suggests the part was previously misaligned.
- Missing pins or worn bushings. These require replacement even if the cylinder body looks new.
- Mismatched thread sizes on the air ports. Using adapters is possible but adds failure points and leak risks.
2. Air Pressure and Flow Requirements
The replacement component must handle the maximum pressure and flow rate of the existing air supply. Do not assume the nameplate rating is the operating rating. The nameplate often indicates the maximum allowable pressure, not the pressure used in the process.
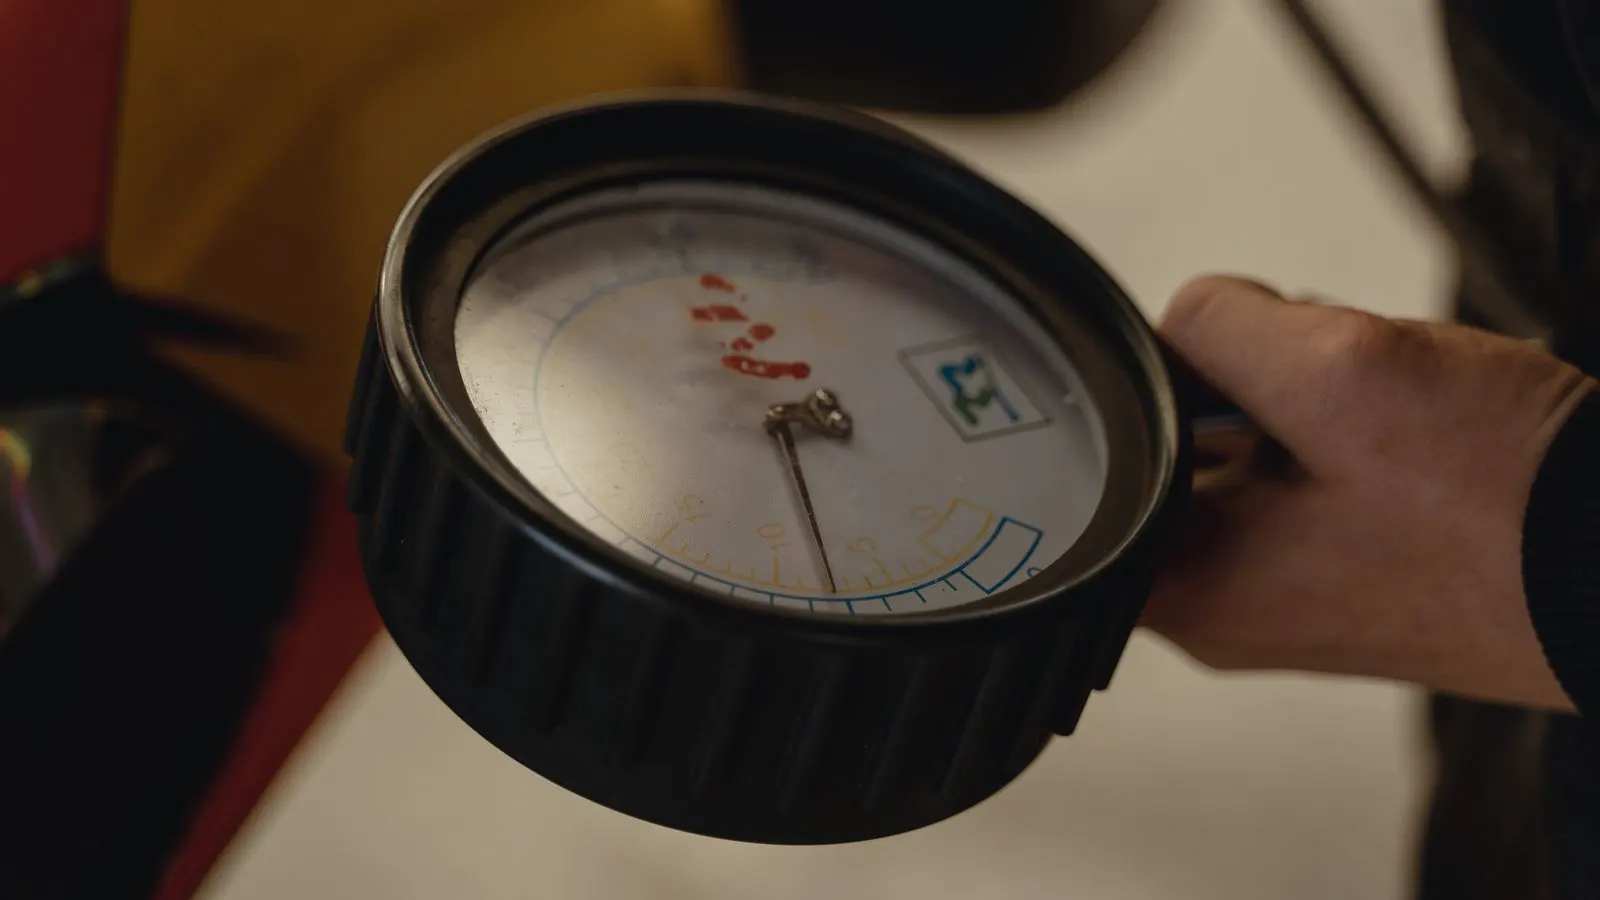
Check the air supply pressure at the point of use. This is the pressure after filters, regulators, and long runs of tubing. The replacement part must have a working pressure rating that exceeds this value with a safety margin.
For cylinders, calculate the force required to hold or move the load. The formula is Force = Pressure x Area. If the original cylinder is worn, the internal seal may have leaked, reducing effective pressure. The new part must restore the original force capacity.
Red Flags:
- Air pressure readings that fluctuate significantly during operation. This indicates a supply issue, not a component failure.
- Hissing sounds from the new part during testing. This points to poor seal fit or a damaged port.
- Slower stroke speed than expected. This usually means the flow rate is insufficient for the bore size and speed requirement.
3. Material and Surface Compatibility
Pneumatic components operate in harsh environments. The material of the replacement part must resist the specific stresses of the installation site.
- Aluminum: Standard for general use. Lightweight and corrosion-resistant. Avoid in high-impact or high-temperature areas.
- Stainless Steel: Required for food processing, pharmaceuticals, or chemical plants. More expensive but highly durable.
- Seal Material: Nitrile (NBR) is standard for air and light oils. Fluorocarbon (FPM) is needed for high temperatures or aggressive chemicals.
Check the operating temperature. If the process involves hot air or steam, standard seals may harden and leak.
Red Flags:
- Discoloration or oxidation on the old part. This suggests a material mismatch with the environment.
- Cracked or hardened seals. This indicates the seal material is incompatible with the fluid or temperature.
4. Connection and Interface Standards
The way the part connects to the system must match the existing infrastructure. This includes pneumatic ports, electrical connections for sensors, and mechanical couplings.
- Port Thread: Identify the thread type and size. Common standards include G, JIC, and BSP.
- Sensor Type: If the cylinder has position sensors, check the type. Magnetic reed switches, Hall effect sensors, and linear potentiometers are not interchangeable without wiring changes.
- Valve Logic: For replacement valves, verify the logic. A 2/4-way valve functions differently than a 3/2-way valve. The solenoid coil voltage (12V vs 24V) must match the control system.
Red Flags:
- Corroded or stripped threads. This requires tapping or replacement of the entire block.
- Mismatched sensor wiring. This can cause false signals or no signal at all.
- Different actuation methods. A manual lever cannot be replaced by a solenoid without adding a power source and wiring.
5. Performance Verification
After installation, the component must perform as specified. Do not rely on visual inspection alone. Test the function under load.
| Test Item | Method | Acceptance Criteria |
|---|---|---|
| Stroke Speed | Time the extension and retraction | Within 10% of original recorded speed |
| Holding Force | Apply load and monitor pressure | No drift or leak down over 60 seconds |
| Leak Test | Pressurize and isolate | Pressure holds within 5% of set point |
| Noise Level | Listen at the part | No new whistling or grinding noises |
Red Flags:
- Slow retraction. Often caused by insufficient back pressure or a weak check valve.
- Temperature rise. Overheating indicates friction or excessive flow resistance.
- Inconsistent motion. Jerky movement suggests air starvation or a sticky valve spool.
6. Documentation and Traceability
Maintenance selection is incomplete without documentation. The new part must be recorded in the maintenance log.
- Part Number: Record the exact manufacturer part number.
- Date Installed: Note the date of replacement.
- Failure Mode: Describe why the part failed. This data helps predict future failures.
- Warranty Info: Keep the receipt and warranty card.
Red Flags:
- Lack of part number on the old part. This makes future replacements difficult.
- No record of previous failures. This hides patterns that could indicate a systemic issue.
Final Verification Before Restart
Before putting the machine back into service, perform a final check.
- Confirm all air lines are tight.
- Verify the pressure regulator is set correctly.
- Run the cycle three times without load.
- Run the cycle three times with load.
- Check for leaks with a soap solution or leak detector.
If any of these steps fail, stop. Do not run the machine. A new component can fail immediately if the root cause of the previous failure is not addressed.
Common Mistakes in Maintenance Selection
- Buying the Cheapest Option: A lower price often means thinner materials or inferior seals. This leads to early failure.
- Ignoring the Environment: Using a standard aluminum cylinder in a salty environment will cause corrosion. Use stainless steel or a coated version.
- Skipping the Force Calculation: Assuming the new part is identical because it looks the same. Measure the bore. Check the pressure rating.
- Not Replacing Worn Bushings: Even if the cylinder is new, the mounting bushings may be worn. This causes misalignment.
When to Replace the System
Sometimes the part is not the problem. If a replacement fails again within a short period, the issue is likely upstream.
Check the air filter. A dirty filter can damage seals. Check the regulator. A failing regulator can provide unstable pressure. Check the tubing. Chafed tubing can cause leaks.
Replacing the system is a last resort. It is expensive and time-consuming. Always diagnose the root cause first.
Conclusion
The pneumatic component selection checklist is a tool to prevent errors. It forces you to verify every parameter before you install a part. It saves money by avoiding rework. It saves time by preventing downtime. Use it every time you replace a worn part. It is the difference between a quick fix and a lasting solution.
Frequently asked questions
Can I replace a pneumatic cylinder with a different brand?
Yes, but you must match the dimensions, pressure rating, and material specifications. A different brand may have a different bore size or mounting pattern, which can cause installation issues.
What is the most common reason for early failure of a new pneumatic part?
The most common reason is a mismatch in the air pressure or flow rate. If the system supplies too much or too little air, the part will wear out quickly or fail to perform correctly.
Do I need to replace the seals when replacing the whole cylinder?
No, the new cylinder comes with new seals. However, you should inspect the mounting bushings and rod ends. If these are worn, replace them as well.
How do I know if my air pressure is too high for the component?
Check the nameplate on the component. It lists the maximum working pressure. If your system pressure is higher than this, you need a different component or a lower pressure regulator.
Can I use adapters to connect a new part with different ports?
Yes, but adapters add failure points and can increase the risk of leaks. It is better to order a part with the correct port type if possible.